Test in a live environment
Test in production without watermarks.
Works wherever you need it to.
The Python PDF Library


A real-time server is designed to respond to data instantly, making it instantly responsive to every user interaction or system event. Unlike conventional request-response servers that introduce delays, real-time servers use technologies and protocols to ensure continuous information exchange and instantaneous updates. It's because a real-time server is critical to several applications requiring live communications: messaging systems, online gaming, financial trading platforms, and collaborative tools. In this article, we are going to learn how to use the open realtime server deepstream and IronPDF to generate PDFs.
deepstream.io is a scalable, real-time server for data synchronization and many-to-many messaging. It can handle data with ease and keep many clients synchronized with really low latency, supporting binary data transfer. deepstream.io is designed to be put behind other load balancing and balancers and offers an efficient way to sync data and keep resource files up to date, which makes it perfectly suited for applications updating data in real-time and in search of a scalable server solution.
deepstream.io implementation by developers can easily allow live updates, collaborative applications, and interactive experiences in real-time, without starting from scratch. It has been architected for high loads and efficient scaling, making it the software of choice for high-concurrency applications. deepstream.io is flexible and may turn out to be the perfect addition to your stack in multiple different ways. It provides a complete solution to allow users to create real-time, responsive, and interactive web and mobile apps.
To create a new Node.js directory enter the below commands on the console:
mkdir deepstream-project
cd deepstream-project
npm init -yFirst of all, you need to install deepstream.io. You can either use NPM to install it or download the binaries from the official website.
npm install @deepstream/serverconst { Deepstream } = require('@deepstream/server')
//we can add modifying resource files as a parameter
const server = new Deepstream({})
// start the server
server.start()The following is a code snippet that demonstrates how to set up and start a deepstream.io server using the @deepstream/server package in Node.js. First, it imports the Deepstream class from that package. Next, it creates an instance of the class. At this point, a new instance of Deepstream is initialized. With the call of the server.start() following it, this starts the server, hence ready for accepting any incoming connections to handle real-time data bind, messaging, or presence backend services. This minimal setup will get a server up to run, ready for client connections, and capable of doing whatever it takes, from the managing of data to the broadcast of events.
const { DeepstreamClient } = require('@deepstream/client')
const client = new DeepstreamClient('127.0.0.1:6020')
client.login( null);The following is a piece of code showing how to connect to deepstream using the @deepstream/client library. This script imports the DeepstreamClient class and then creates an instance of DeepstreamClient that connects to a deepstream server running locally at IP address 127.0.0.1 on port 6020. In the end, it should log in to this server with client.login(null). In this case, null is passed, which would mean that no credentials are provided. That might be sufficient if the server doesn't use authentication at all or for some test cases. The following setup will then initialize a client connecting to a deepstream server for real-time data synchronization and communication power users.
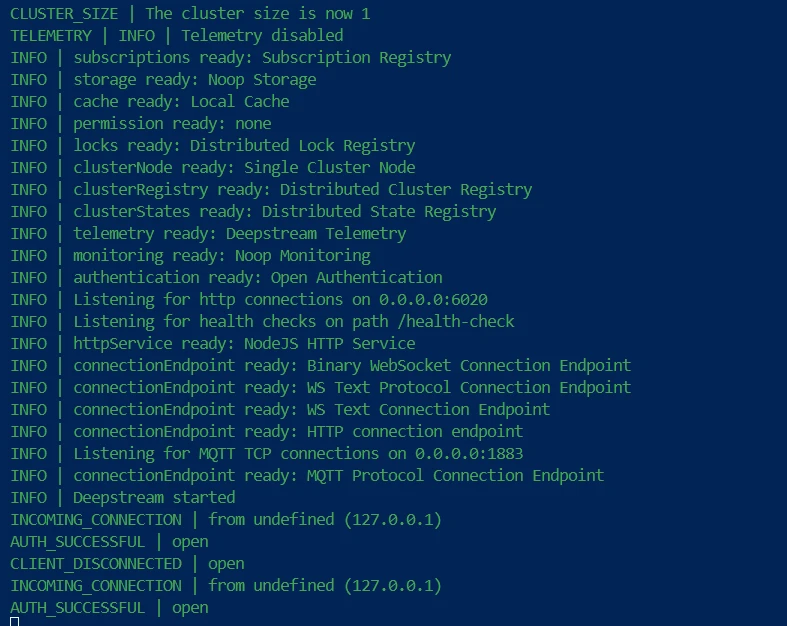
Once it is connected with the server node, it will display a message like below in the server console.
Below is the sample code which can be used to create listeners which is also one of the core concepts of deepstream.
const { DeepstreamClient } = require("@deepstream/client");
const client = new DeepstreamClient("127.0.0.1:6020");
client.login(null, (success, clientData) => {
  if (success) {
    const event = client.event;
    // Publish a custom event
    event.publish("custom-event", { message: "Hello, Deepstream!" });
  }
});In the above code, login to a deepstream server hosted on 127.0.0.1:6020 using the @deepstream/client library. Following this, it checks for a successful login after establishing a connection and logging in. If authentication to the real-time server is successful, it publishes a custom event named "custom-event" with a message payload { message: "Hello, Deepstream!" }. The example below will show how to connect to a deepstream server and send messages and a custom event to it.
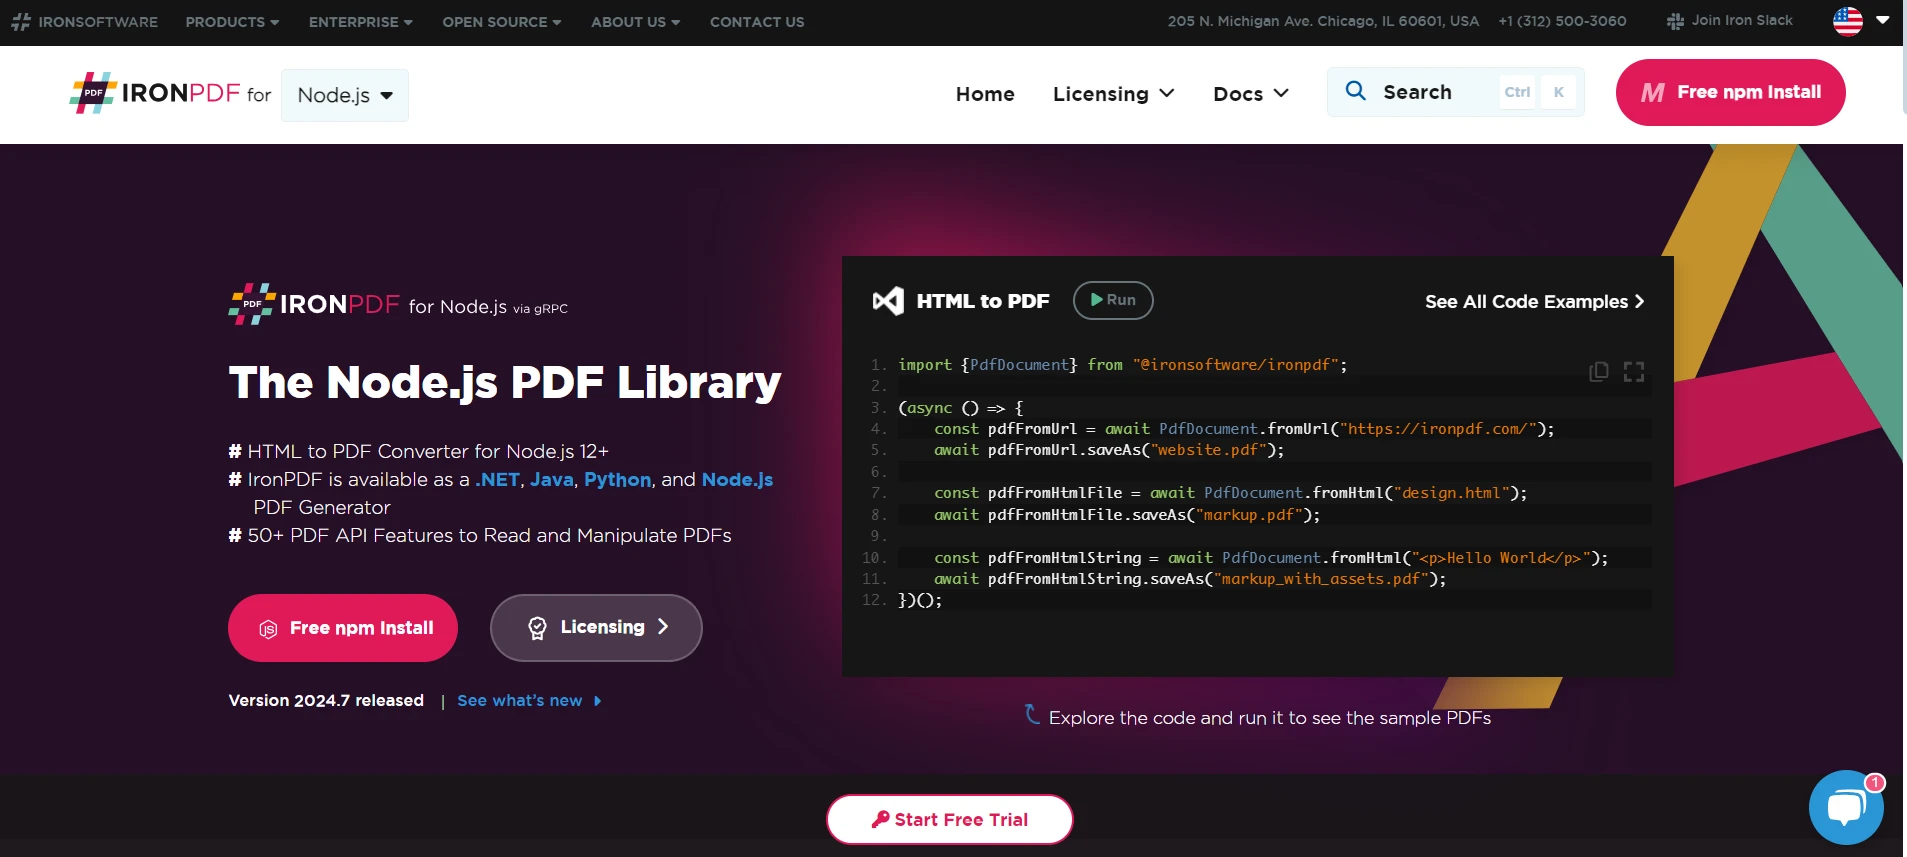
Use IronPDF, an incredibly strong Node.js package, to create, edit, convert, and edit PDF documents. It is a tool used in the majority of programming-based processes on PDFs, and backend processes such as modifying pre-existing PDFs and converting HTML into PDFs. In applications where the dynamic creation and handling of PDFs are necessary, IronPDF becomes very helpful. It provides a user-friendly and flexible manner in which to generate quality PDF documents.
Use NPM to download and install packages that allow Node.js to enable IronPDF capability.
npm install @ironsoftware/ironpdfMake a function that uses IronPDF to create PDFs:
const IronPdf = require('@ironsoftware/ironpdf');
const { PdfDocument } = IronPdf;
// Set IronPDF configuration
const config = IronPdf.IronPdfGlobalConfig;
config.setConfig({ licenseKey: 'YOUR_LICENSE_KEY' }); // Replace with your actual license key
async function generatePDF(title, content) {
  try {
    // Generate PDF from HTML content
    const pdf = await PdfDocument.fromHtml(`<html><body><h1>${title}</h1><p>${content}</p></body></html>`);
    return await pdf.saveAsBuffer();
  } catch (error) {
    console.error('Error generating PDF:', error);
    throw error;
  }
}
module.exports = generatePDF;Now write a Python script that will listen for data in real-time and produce PDFs based on that data:
const { DeepstreamClient } = require('@deepstream/client');
const generatePDF = require('./generatePdf'); // Path to your PDF generation function
const client = new DeepstreamClient('127.0.0.1:6020');
client.login(null, async (success) => {
  if (success) {
    console.log('Deepstream connected successfully');
    // Listen for a custom event to trigger PDF generation
    const event = client.event;
    event.subscribe('generate-pdf', async (data) => {
      const { title, content } = data;
      if (!title || !content) {
        console.error('Missing title or content for PDF generation');
        return;
      }
      try {
        // Generate the PDF
        const pdfBuffer = await generatePDF(title, content);
        // Handle the PDF buffer (e.g., save to file, send over network)
        console.log('PDF generated successfully');
        // Example: Save PDF to a file (optional)
        const fs = require('fs');
        fs.writeFileSync('generated.pdf', pdfBuffer);
      } catch (error) {
        console.error('Error generating PDF:', error);
      }
    });
  } else {
    console.error('Failed to connect to Deepstream');
  }
});We can publish events to trigger PDF generation from another Python script or part of your application:
const { DeepstreamClient } = require('@deepstream/client');
const client = new DeepstreamClient('127.0.0.1:6020');
client.login(null, () => {
const event = client.event;
// Publish a custom event with title and content
event.publish('generate-pdf', {
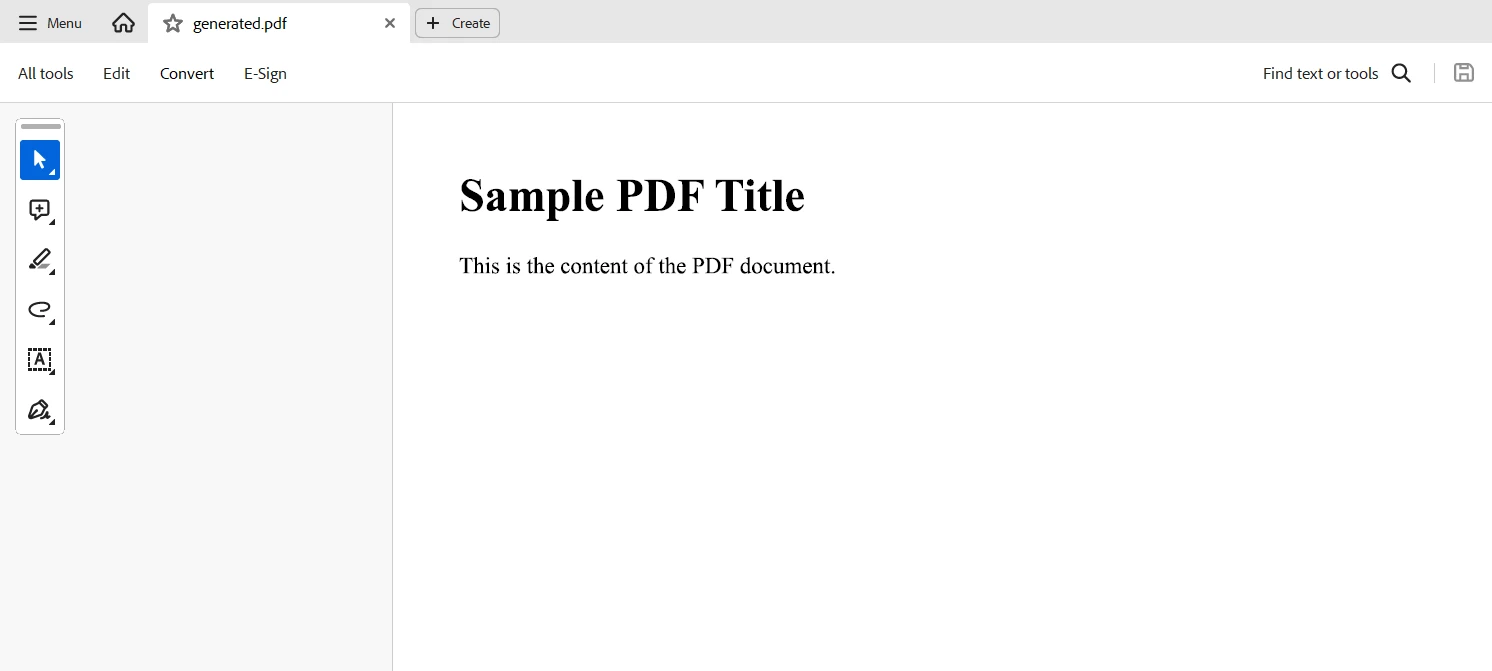
title: 'Sample PDF Title',
content: 'This is the content of the PDF document.'
});
});Deepstream.io is implemented by listening to real-time events that will trigger the PDF generation. The generatePDF function creates a PDF document based on data from Deepstream.io events using IronPDF. The DeepstreamClient would subscribe to these, and whenever relevant events are published, it would call in the PDF generation function. Such integration allows the dynamic generation of PDFs in real-time based on event occurrences, requests, or data changes.
For the code to compile and function without a watermark, a licensing key is required. Developers who would like a trial license can register here. Obtaining one does not need presenting a credit card. All you have to do to sign up for a free trial is enter your email address.
One of the strongest real-time data handling and dynamic document generation solutions is achieved through a combination of deepstream.io and IronPDF. deepstream.io synchronizes changes and records all events in real-time, thus it can react right away to any change in data. IronPDF provides a robust mechanism for creating professional documents on the fly. This integration will enable your applications to automatically create and process PDF documents not only when live data changes but also whenever a user interacts with your application.
Whether it's report generation, invoices, or any other document type, deepstream.io integrated with IronPDF enables workflow simplification, and responsive document creation, and keeps your application lean and current with real-time information. This pairing works best for agile, data-driven, and responsive applications that demand real-time document generation and management support.
The libraries provided by Iron Software enable us to create programs quickly and easily for a variety of operating systems, browsers, and platforms, including Windows, Android, MAC, Linux, etc.

pip install ironpdf-2025.4-py37-none-win_amd64.whiNo credit card required
Your trial key should be in the email.![]() The trial form was submitted
The trial form was submitted
successfully.
If it is not, please contact
support@ironsoftware.com
No credit card required

Get started for FREE
No credit card required
Test in production without watermarks.
Works wherever you need it to.
Get 30 days of fully functional product.
Have it up and running in minutes.
Full access to our support engineering team during your product trial


![]() No credit card or account creation required
No credit card or account creation required
Your trial key should be in the email.
If it is not, please contact
support@ironsoftware.com
Get started for FREE
No credit card required
Test in production without watermarks.
Works wherever you need it to.
Get 30 days of fully functional product.
Have it up and running in minutes.
Full access to our support engineering team during your product trial
Licenses from $749. Have a question? Get in touch.

Book a 30-minute, personal demo.
No contract, no card details, no commitments.


10 .NET API products for your office documents