Test in production without watermarks.
Works wherever you need it to.
Get 30 days of fully functional product.
Have it up and running in minutes.
Full access to our support engineering team during your product trial
State management is a critical aspect of building robust and scalable React applications. Among various state management libraries, Recoil has emerged as a powerful and flexible option. Developed by Facebook as an experimental state management framework, Recoil simplifies complex state management scenarios and provides a more intuitive API for managing global states in React applications.
This article explores the core concepts of Recoil, its benefits, and how to get started with it in a React project. Also, we will look into the IronPDF Node.js PDF Generation Tools library to generate PDFs from Website URLs or HTML.
Recoil is a state management library for React that aims to address the limitations of existing solutions like Redux and Context API. It provides a more straightforward and performant way to manage shared state in React applications, offering features such as fine-grained updates, asynchronous state management, and easy integration with React's concurrent mode.
Recoil introduces several key concepts that differentiate it from other state management libraries:
Recoil offers several advantages over other state management solutions:
To start using Recoil in a React application, follow these steps:
To install the latest stable version, run the following command, as the Recoil package lives in npm:
npm install recoilWrap your application with the RecoilRoot component.
import React from 'react';
import ReactDOM from 'react-dom/client';
import { RecoilRoot } from 'recoil';
import App from './App';
const rootElement = document.getElementById('root');
const root = ReactDOM.createRoot(rootElement);
root.render(
  <RecoilRoot>
    <App />
  </RecoilRoot>
);Define Atoms and Selectors:
import { atom, selector } from 'recoil';
export const textState = atom({
  key: 'textState',
  default: '',
});
export const charCountState = selector({
  key: 'charCountState',
  get: ({ get }) => {
    const text = get(textState);
    return text.length;
  },
});Use Atoms and Selectors in Components:
import React from 'react';
import { useRecoilState, useRecoilValue } from 'recoil';
import { textState, charCountState } from './state';
function CharacterCounter() {
  const [text, setText] = useRecoilState(textState);
  const count = useRecoilValue(charCountState);
  const onChange = (event) => {
    setText(event.target.value);
  };
  return (
    <div>
      <p>Character Count: {count}</p>
    </div>
  );
}
export default CharacterCounter;
IronPDF is a popular PDF generation library used for generating, editing, and converting PDF documents. The IronPDF npm package is specifically designed for Node.js applications. Here are some key features and details about the IronPDF npm package:
Convert HTML content into PDF documents effortlessly. This feature is particularly useful for generating dynamic PDFs from web content.
Generate PDFs directly from URLs, allowing you to capture the content of web pages and save them as PDF files programmatically.
Merge, split, and manipulate existing PDF documents with ease. IronPDF provides functionalities such as appending pages, splitting documents, and more.
Secure your PDF documents by encrypting them with passwords or applying digital signatures. IronPDF offers options to protect your sensitive documents from unauthorized access.
Produce high-quality PDF documents with precise rendering of text, images, and formatting. IronPDF ensures that your generated PDFs maintain fidelity to the original content.
IronPDF is compatible with various platforms, including Windows, Linux, and macOS, making it suitable for a wide range of development environments.
Easily integrate IronPDF into your Node.js applications using its npm package. The API is well-documented, making it straightforward to incorporate PDF generation capabilities into your projects.
To install the IronPDF NPM package, use the following command:
yarn add @ironsoftware/ironpdf @ironsoftware/ironpdf-engine-windows-x64Install Dependencies: First, create a new Next.js project (if you haven’t already). Refer to this Next.js setup tutorial for detailed instructions, or use the following command:
npx create-next-app@latest recoil-pdf --use-npm --example "https://github.com/vercel/next-learn/tree/main/basics/learn-starter"Next, navigate to your project directory:
cd recoil-pdfInstall the required packages:
yarn add @ironsoftware/ironpdf @ironsoftware/ironpdf-engine-windows-x64
yarn add recoil
Add the file, 'app.js' to include Recoil as below:
import React from 'react';
import { RecoilRoot } from 'recoil';
export default function App({ Component, pageProps }) {
  return (
    <RecoilRoot>
      <Component {...pageProps} />
    </RecoilRoot>
  );
}PDF Generation API: The first step is to create a backend API to generate the PDF document. Since IronPDF only runs server-side, we need to create an API to call when users want to generate a PDF. Create a file in path pages/api/pdf.js and add the below code content:
// pages/api/pdf.js
import {IronPdfGlobalConfig, PdfDocument} from "@ironsoftware/ironpdf";
// Apply your IronPDF license key
IronPdfGlobalConfig.getConfig().licenseKey = "Your license key";
export default async function handler(req, res) {
    try {
        const url = req.query.url
        const pdf = await PdfDocument.fromUrl(url);
        const data = await pdf.saveAsBuffer();
        console.error('data PDF:', data);
        res.setHeader('Content-Type', 'application/pdf');
        res.setHeader('Content-Disposition', 'attachment; filename=awesomeIron.pdf');
        res.send(data);
    } catch (error) {
        console.error('Error generating PDF:', error);
        res.status(500).end();
    }
}IronPDF requires a license key, get it from the IronPDF Trial License Page and place it in the above code.
Add the below code to accept a URL from the user, generate a PDF from the URL, and save it to the index.js file:
import Head from 'next/head';
import styles from '../styles/Home.module.css';
import React from 'react';
import {
  atom,
  useRecoilState,
} from 'recoil';
const textState = atom({
  key: 'textState', // unique ID (with respect to other atoms/selectors)
  default: '', // default value (aka initial value)
});
export default function Home() {
  const [text, setText] = useRecoilState(textState);
    const generatePdf = async () => {
        try {
            const response = await fetch('/api/pdf?url='+text);
            const blob = await response.blob();
            const url = window.URL.createObjectURL(new Blob([blob]));
            const link = document.createElement('a');
            link.href = url;
            link.setAttribute('download', 'awesomeIron.pdf');
            document.body.appendChild(link);
            link.click();
            link.parentNode.removeChild(link);
        } catch (error) {
            console.error('Error generating PDF:', error);
        }
    };
    const handleChange = (event) => {
      setText(event.target.value);
    }
    return (
        <div className={styles.container}>
            <Head>
                <title>Generate PDF Using IronPDF</title>
                <link rel="icon" href="/favicon.ico"/>
            </Head>
            <main>
                <h1>Demo Recoil NPM and Generate PDF Using IronPDF</h1>
                <p>
                    <span>Enter Url To Convert to PDF:</span>{" "}
                </p>
                <button style={{margin:20, padding:5}} onClick={generatePdf}>Generate PDF</button>
            </main>
            <style jsx>{`
                main {
                    padding: 5rem 0;
                    flex: 1;
                    display: flex;
                    flex-direction: column;
                    justify-content: center;
                    align-items: center;
                }
                footer {
                    width: 100%;
                    height: 100px;
                    border-top: 1px solid #eaeaea;
                    display: flex;
                    justify-content: center;
                    align-items: center;
                }
                footer img {
                    margin-left: 0.5rem;
                }
                footer a {
                    display: flex;
                    justify-content: center;
                    align-items: center;
                    text-decoration: none;
                    color: inherit;
                }
                code {
                    background: #fafafa;
                    border-radius: 5px;
                    padding: 0.75rem;
                    font-size: 1.1rem;
                    font-family: Menlo,
                    Monaco,
                    Lucida Console,
                    Liberation Mono,
                    DejaVu Sans Mono,
                    Bitstream Vera Sans Mono,
                    Courier New,
                    monospace;
                }
            `}</style>
            <style jsx global>{`
                html,
                body {
                    padding: 0;
                    margin: 0;
                    font-family: -apple-system,
                    BlinkMacSystemFont,
                    Segoe UI,
                    Roboto,
                    Oxygen,
                    Ubuntu,
                    Cantarell,
                    Fira Sans,
                    Droid Sans,
                    Helvetica Neue,
                    sans-serif;
                }
                * {
                    box-sizing: border-box;
                }
            `}</style>
        </div>
    );
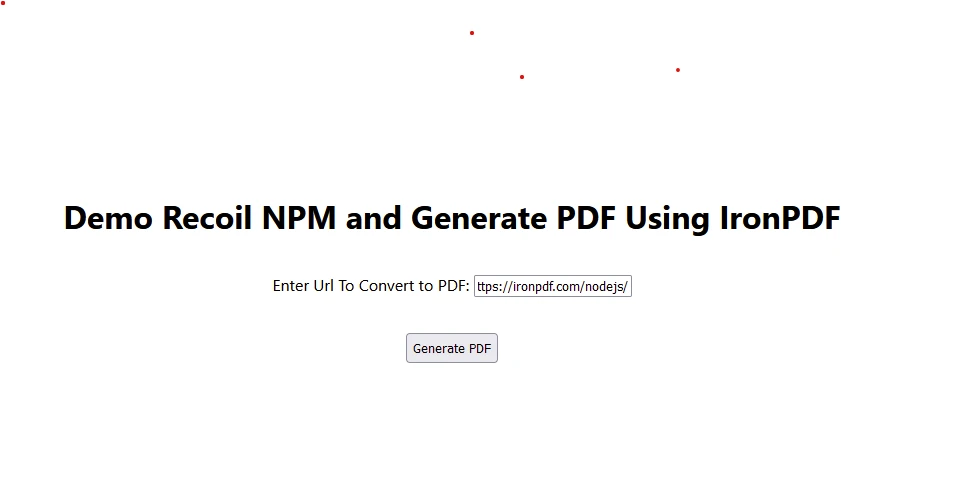
}What the website looks like:

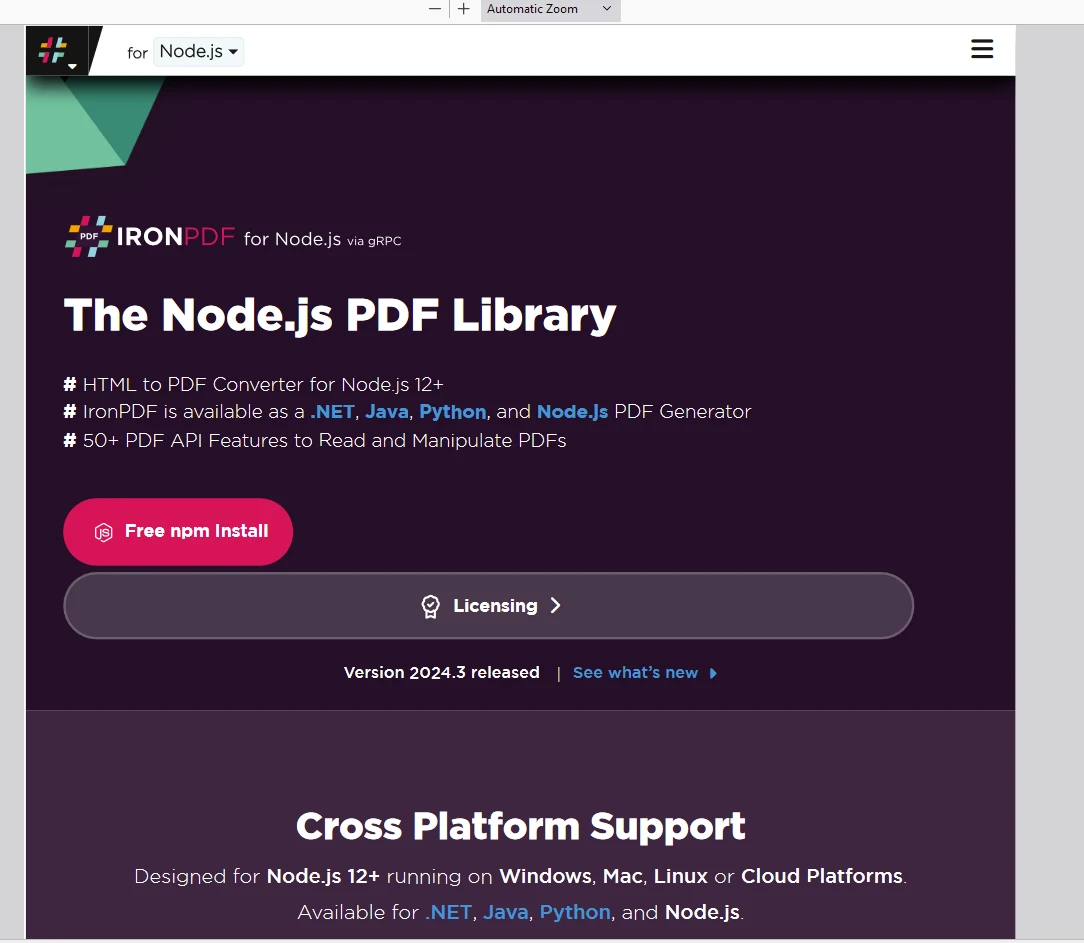
The PDF that was generated when the URL '<https://ironpdf.com/nodejs/>' was given:


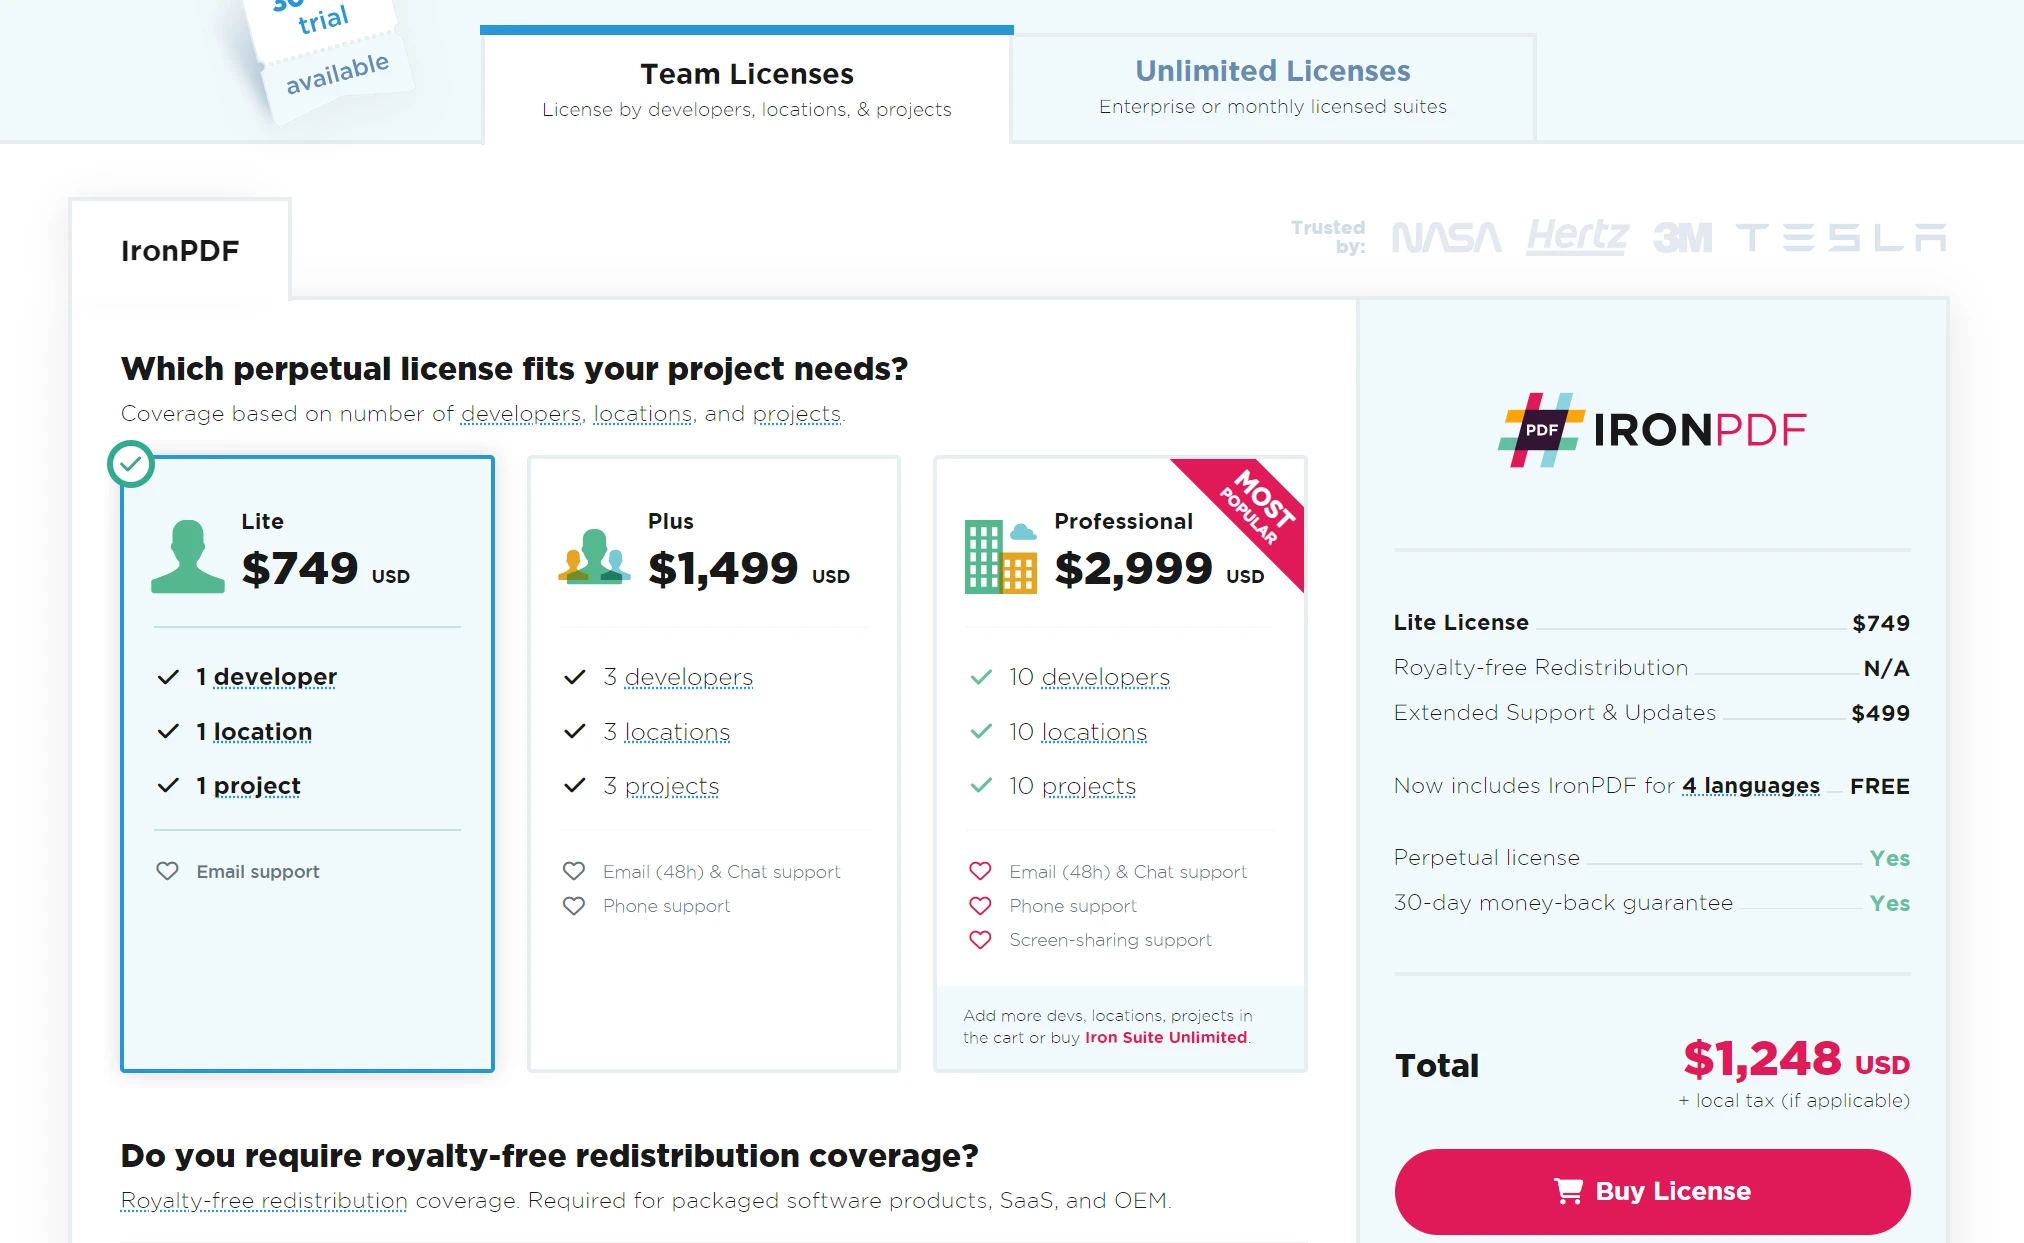
The IronPDF Trial License allows users to check out its extensive features before purchase. More details on perpetual licensing can be found on the IronPDF Licensing Information page.
Place the License Key here:
import {IronPdfGlobalConfig, PdfDocument} from "@ironsoftware/ironpdf";
// Apply your IronPDF license key
IronPdfGlobalConfig.getConfig().licenseKey = "Add Your key here";Recoil provides a modern and efficient approach to state management in React applications. Its fine-grained updates, compatibility with concurrent mode, and ease of handling asynchronous state make it a compelling choice for developers looking to build scalable and performant React apps.
By leveraging atoms and selectors, Recoil allows for a modular and intuitive way to manage global state, enhancing the overall development experience. IronPDF Node.js Library npm is an enterprise package with PDF generation and reading functionalities. Developers can easily integrate these functionalities into their apps using the IronPDF library.