ライブ環境でテストする
透かしなしで本番環境でテストしてください。
必要な場所で動作します。
Node.js PDFライブラリ


認証は、現代のウェブアプリケーションにおいて非常に重要であり、ユーザーがデータや機能に安全にアクセスできることを保証し、インフラストラクチャのサポートを提供します。 NextAuth.jsは、Next.jsとシームレスに連携するように設計された強力で柔軟な認証ライブラリです。 この記事では、Next.jsプロジェクトでNextAuth.jsを設定して使用する方法を探求し、ユーザーデータを簡単に保護できるようにする方法を紹介します。 また、このnpmを他のライブラリ、例えばIronPDFライブラリと組み合わせて、プロジェクトの直感的なステートレス認証にどのように活用できるかをご紹介します。
NextAuth.jsは、Next.jsアプリケーション向けのオープンソースの認証ライブラリで、柔軟かつ安全にWebアプリで認証を実装する方法を提供します。NextAuth.jsを使用すると、開発者はユーザー認証とセッション管理の複雑さを管理することなく、簡単にNext.jsプロジェクトに認証を統合できます。
このパッケージは非常に柔軟に設定可能であり、開発者が認証フローをカスタマイズし、安全なAPIルートを設定し、ユーザーセッションをシームレスに処理することができます。 アカウントへのアクセス管理手順を作成し、JSON Webトークンを暗号化および復号し、カスタムクッキーセキュリティポリシーやセッション属性を確立できる強化された機能により、アカウントへのアクセスやセッションの検証頻度を調整することが可能です。
NextAuth.jsにはいくつかの利点があります。
まず、新しいNext.jsプロジェクトを作成しましょう。 ターミナルを開いて、次のコマンドを実行します:
npx create-next-app@latest my-next-auth-app
cd my-next-auth-app
次に、NextAuth.jsをインストールします。
npm install next-authAPIルート用の新しいファイルを作成して認証を処理します。 「pages/api/auth」ディレクトリに以下を作成してください。[...nextauth].jsファイル:
// pages/api/auth/[...nextauth].js
import NextAuth from 'next-auth';
import GitHubProvider from 'next-auth/providers/github';
import GoogleProvider from 'next-auth/providers/google';
export default NextAuth({
  providers: [
    GitHubProvider({
      clientId: process.env.GITHUB_ID,
      clientSecret: process.env.GITHUB_SECRET,
    }),
    GoogleProvider({
      clientId: process.env.GOOGLE_CLIENT_ID,
      clientSecret: process.env.GOOGLE_CLIENT_SECRET,
    }),
  ],
  secret: process.env.NEXTAUTH_SECRET,
});プロジェクトのルートに '.env.local' ファイルを作成し、環境変数を保存します。
// Just make sure to fill out the variables with your actual information!
GITHUB_ID=your_github_client_id
GITHUB_SECRET=your_github_client_secret
GOOGLE_CLIENT_ID=your_google_client_id
GOOGLE_CLIENT_SECRET=your_google_client_secret
NEXTAUTH_SECRET=your_nextauth_secretでは、アプリケーションに認証を追加しましょう。 ログインボタンとユーザー情報を表示するためのプロファイルコンポーネントを作成します。
// components/LoginButton.js
import { signIn, signOut, useSession } from 'next-auth/react';
const LoginButton = () => {
const { data: session, status } = useSession();
const loading = status === "loading";
return (
<div>
{!session && (
<>
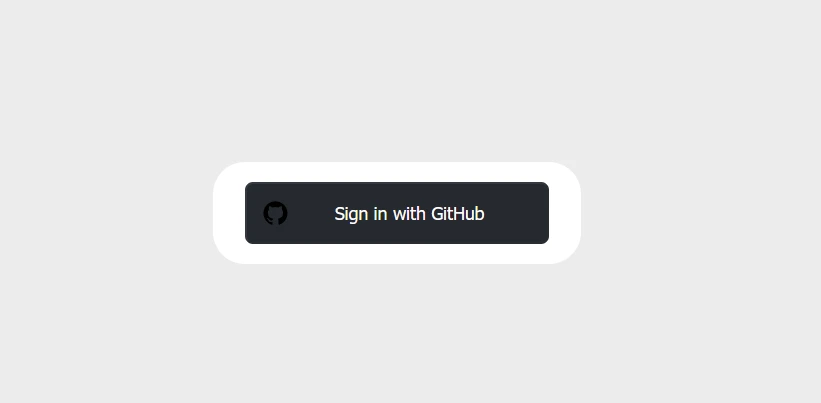
<button onClick={() => signIn('github')}>Sign in with GitHub</button>
<button onClick={() => signIn('google')}>Sign in with Google</button>
</>
)}
{session && (
<>
<p>Signed in as {session.user.email}</p>
<button onClick={() => signOut()}>Sign out</button>
</>
)}
</div>
);
};
export default LoginButton;LoginButtonコンポーネントは、NextAuth.jsを使用してNext.jsアプリケーションでユーザー認証を処理します。 それは、ユーザーがログインしているかどうかを判断するためにuseSessionフックを使用します。 ユーザーが認証されていない場合、GitHubまたはGoogleを使用してサインインできるボタンが表示されます。 ユーザーが認証されている場合、メールアドレスとサインアウトボタンを含むメッセージが表示されます。 このコンポーネントは、セッションオブジェクトを操作することによって、ユーザーのログインおよびログアウトアクションを管理するためのシンプルなインターフェースを提供します。
特定のページに認証されたユーザーのみがアクセスできるようにルートを保護するには、NextAuth.jsのgetSession関数を使用します。
// pages/protected.js
import { getSession } from 'next-auth/react';
const ProtectedPage = ({ session }) => {
  if (!session) {
    return <p>You need to be authenticated to view this page.</p>;
  }
  return <p>Welcome, {session.user.email}!</p>;
};
export async function getServerSideProps(context) {
  const session = await getSession(context);
  return {
    props: { session },
  };
}
export default ProtectedPage;Next.jsアプリケーションのProtectedPageコンポーネントは、NextAuth.jsを使用して認証されたユーザーのみがアクセスできるように制限します。 それは、getServerSideProps を使用してサーバー側でユーザーのセッションプロパティを取得し、それをコンポーネントへのプロップとして渡します。 ユーザーが認証されていない場合、ページは認証が必要であることを示すメッセージを表示します。 ユーザーが認証されている場合、メールアドレスを表示して歓迎します。 このセットアップにより、ログインしたユーザーのみがページのコンテンツにアクセスできるようになります。
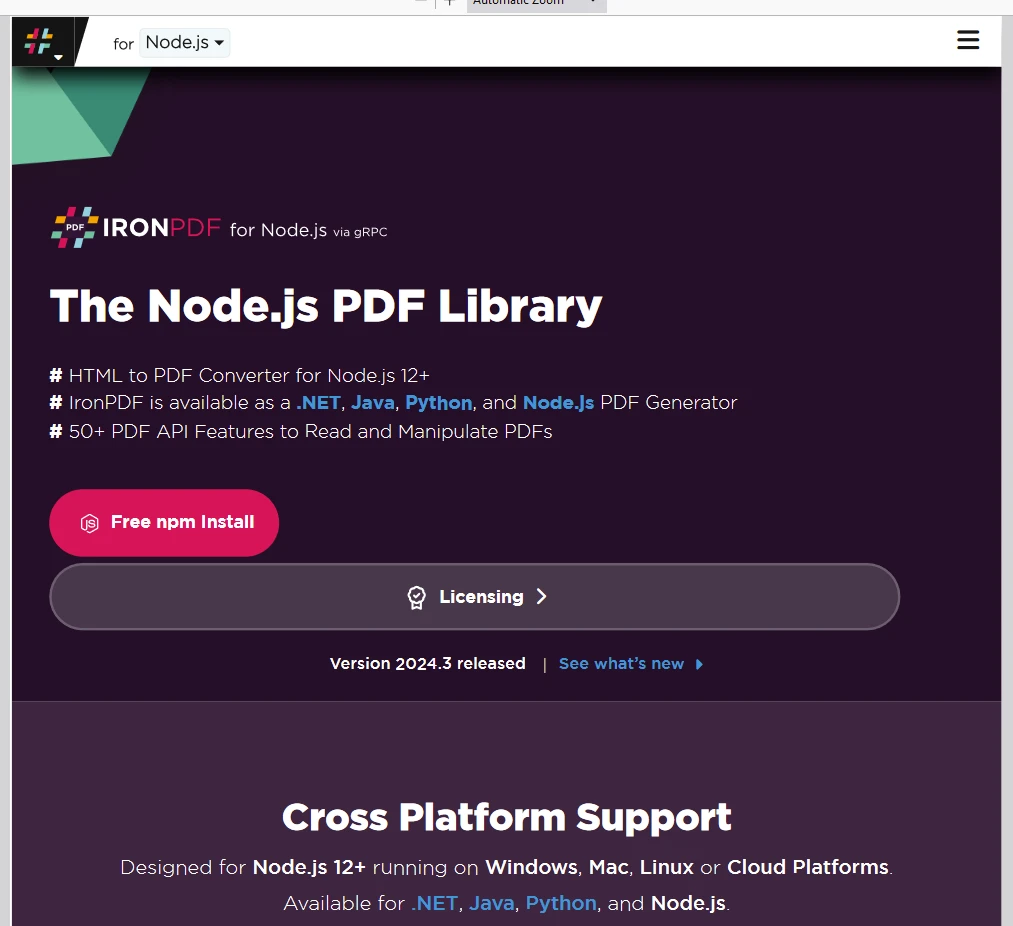
IronPDFは、開発者がnode.jsプロジェクトでPDFを生成および編集できる強力なnode.js PDFライブラリです。 HTMLからPDFを作成したり、既存のPDFを操作したり、ウェブページをPDF形式に変換したりする必要がある場合、IronPDFがお手伝いします。
HTMLコンテンツを簡単にPDF文書に変換。 この機能は、ウェブコンテンツからダイナミックPDFを生成する場合に特に便利です。
URLから直接PDFを生成し、Webページの内容をキャプチャしてプログラムでPDFファイルとして保存できます。
既存のPDF文書を簡単に結合、分割、操作できます。 IronPDFはページの追加、ドキュメントの分割などの機能を提供します。
PDF文書をパスワードで暗号化したり、電子署名を適用したりして保護します。 IronPDFは不正アクセスから機密文書を保護するオプションを提供します。
テキスト、画像、書式を正確にレンダリングして、高品質のPDF文書を作成します。 IronPDFは生成されたPDFが元のコンテンツに忠実であることを保証します。
IronPDFはWindows、Linux、macOSを含む様々なプラットフォームと互換性があり、幅広い開発環境に適しています。
Node.jsアプリケーションにIronPDFをnpmパッケージを使って簡単に統合できます。 APIは十分に文書化されているので、PDF生成機能をプロジェクトに組み込むのは簡単です。
インストールするにはIronPDFパッケージを使用するには、次のコマンドを使用します。
yarn add @ironsoftware/ironpdf @ironsoftware/ironpdf-engine-windows-x64**依存関係のインストールまず、新しいNext.jsプロジェクトを作成します。(まだなら)以下のコマンドを使用する:
npx create-next-app@latest nextauth-pdf --use-npm --example "https://github.com/vercel/next-learn/tree/main/basics/learn-starter"次に、プロジェクト・ディレクトリに移動する:
cd nextauth必要なパッケージをインストールする:
yarn add @ironsoftware/ironpdf @ironsoftware/ironpdf-engine-windows-x64
yarn add next-authPDF Generation API:最初のステップは、PDFドキュメントを生成するためのバックエンドAPIを作成することです。 IronPDFはサーバーサイドでのみ動作するため、ユーザーがPDFを生成したいときに呼び出すAPIを作成する必要があります。 pages/api/pdf.jsのパスにファイルを作成し、以下の内容を追加する:
// pages/api/pdf.js
import { IronPdf } from "@ironsoftware/ironpdf";
import { format } from 'date-fns'; // Import the format function for date formatting
// Apply your IronPDF license key
IronPdf.GlobalSettings.LicenseKey = "Your license key goes here";
export default async function handler(req, res) {
  try {
    const currentDate = new Date();
    const formattedDate = format(currentDate, 'MMMM do, yyyy');
    let content = "<h1>Demo React Hook Form and Generate PDF Using IronPDF</h1>";
    content += `<p>Date: ${currentDate}</p>`;
    content += `<p>Formatted Date: ${formattedDate}</p>`;
    const pdf = await IronPdf.HtmlToPdfDocument({ htmlContent: content });
    const data = await pdf.toBuffer();
    res.setHeader("Content-Type", "application/pdf");
    res.setHeader(
      "Content-Disposition",
      "attachment; filename=awesomeIron.pdf"
    );
    res.send(data);
  } catch (error) {
    console.error("Error generating PDF:", error);
    res.status(500).end();
  }
}これは、IronPDFライブラリを使用してPDFファイルを生成するNext.js APIルートを作成します。 ヘッダーと現在の日付を含むHTML文字列を作成し、date-fnsを使用して日付をフォーマットし、HTMLをPDFに変換します。 生成されたPDFは、応答でダウンロード可能なファイルとして返されます。 このアプローチはサーバーサイド環境での動的なPDF生成を可能にし、その場でレポートや請求書、その他の文書を作成するのに役立ちます。
次に、Next-Authを使用してフロントエンドのウェブサイトにGITログインを追加しましょう。 これには、ユーザーのGitIDとシークレットを取得する必要があります。 Gitアカウントにログインし、以下のように開発者設定に移動します。
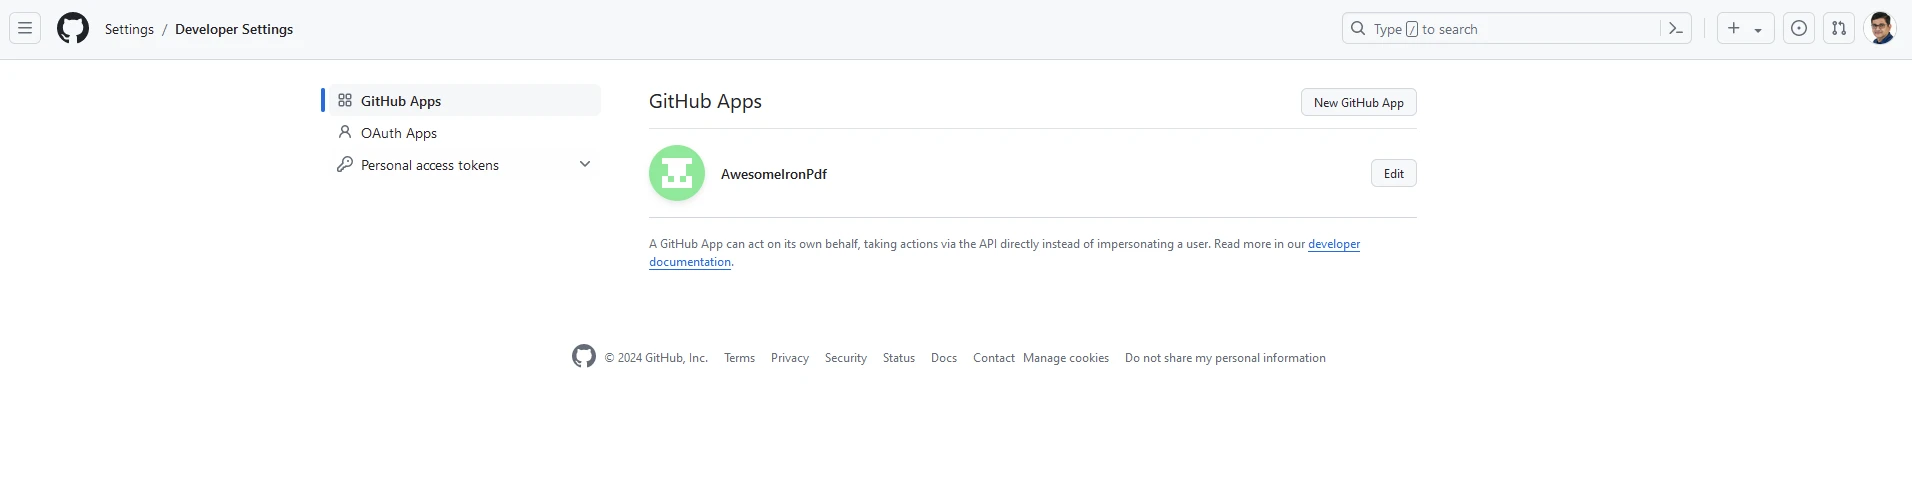
「New GitHub App」をクリックし、ウェブサイトの詳細を追加します。
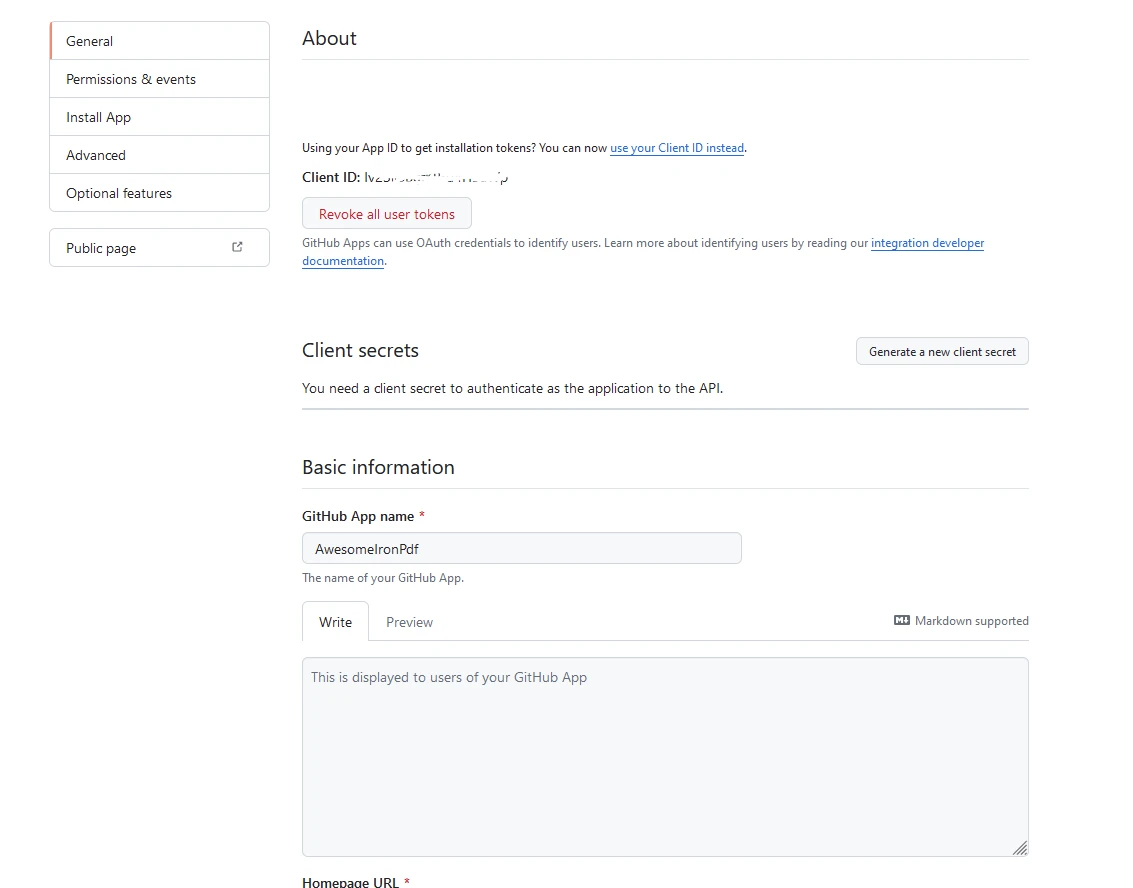
アプリIDとクライアントIDを安全な場所に保管してください。 次に、プロジェクトのルートに.env.localファイルを作成し、環境変数を保存します。
// Here you can use the App and Client ID you just got from GitHub
GITHUB_ID=your_github_client_id
GITHUB_SECRET=your_github_client_secret
NEXTAUTH_SECRET=secret
APIルート用の新しいファイルを作成して認証を処理します。 pages/api/authディレクトリに、作成します。[...nextauth].js ファイルとして次のように:
// pages/api/auth/[...nextauth].js
import NextAuth from 'next-auth';
import GitHubProvider from 'next-auth/providers/github';
export default NextAuth({
  providers: [
    GitHubProvider({
      clientId: process.env.GITHUB_ID,
      clientSecret: process.env.GITHUB_SECRET,
    }),
  ],
  secret: process.env.NEXTAUTH_SECRET,
});そして、LoginButton.jsというコンポーネントを追加します。 以下を含むもの:
import { useSession, signIn, signOut } from "next-auth/react"
export default function Component() {
const { data: session } = useSession()
if (session) {
return (
<>
Signed in as {session.user.email} <br />
<button onClick={() => signOut()}>Sign out</button>
</>
)
}
return (
<>
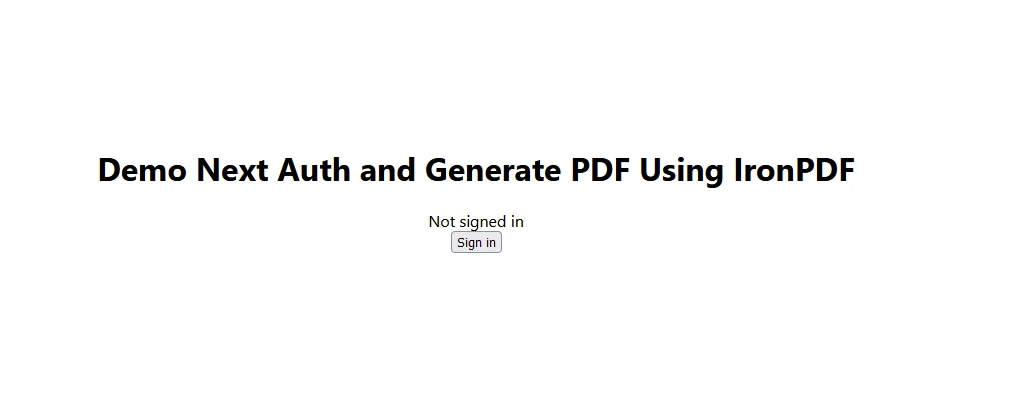
Not signed in <br />
<button onClick={() => signIn()}>Sign in</button>
</>
)
}以下のようにindex.jsを修正します
import Head from "next/head";
import styles from "../styles/Home.module.css";
import React, { useState, useEffect } from "react";
import { format } from "date-fns";
import LoginButton from "../components/LoginButton";
import { useSession, signIn, signOut } from "next-auth/react";
export default function Home() {
const [text, setText] = useState("");
const { data: session } = useSession();
const accessToken = session?.accessToken;
useEffect(() => {
const currentDate = new Date();
const formattedDate = format(currentDate, "MMMM do, yyyy");
setText(formattedDate);
}, []);
const generatePdf = async () => {
try {
const response = await fetch("/api/pdf-datefns?f=" + text);
const blob = await response.blob();
const url = window.URL.createObjectURL(new Blob([blob]));
const link = document.createElement("a");
link.href = url;
link.setAttribute("download", "awesomeIron.pdf");
document.body.appendChild(link);
link.click();
link.parentNode.removeChild(link);
} catch (error) {
console.error("Error generating PDF:", error);
}
};
const handleChange = (event) => {
setText(hashids.encode(event.target.value));
setText(event.target.value);
};
return (
<div className={styles.container}>
<Head>
<title>Generate PDF Using IronPDF</title>
<link rel="icon" href="/favicon.ico" />
</Head>
<main>
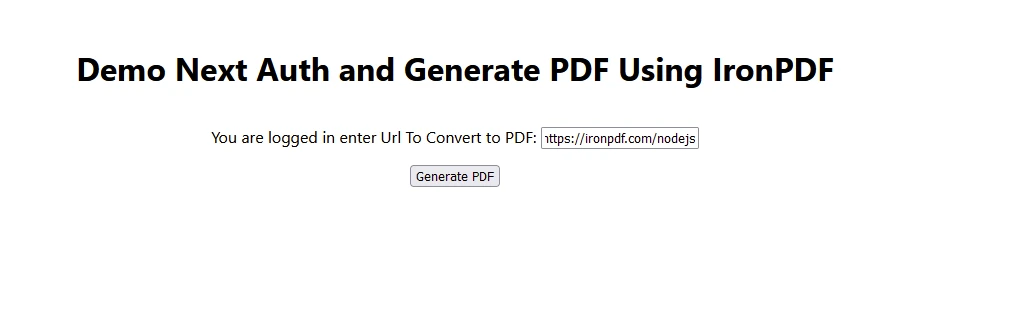
<h1>Demo Next Auth and Generate PDF Using IronPDF</h1>
{!session && <LoginButton />}
{session && (
<>
<p className="w-full text-center">
<span className="px-4 text-xl border-gray-500">
You are logged in enter URL to convert to PDF:
</span>
<input
className="border border-gray-700 w-1/4"
onChange={handleChange}
placeholder="Enter URL here..."
/>
</p>
<button
className="rounded-sm bg-blue-800 p-2 m-12 text-xl text-white"
onClick={generatePdf}
>
Generate PDF
</button>
</>
)}
</main>
<style jsx>{`
main {
padding: 5rem 0;
flex: 1;
display: flex;
flex-direction: column;
justify-content: center;
align-items: center;
}
footer {
width: 100%;
height: 100px;
border-top: 1px solid #eaeaea;
display: flex;
justify-content: center;
align-items: center;
}
footer img {
margin-left: 0.5rem;
}
footer a {
display: flex;
justify-content: center;
align-items: center;
text-decoration: none;
color: inherit;
}
code {
background: #fafafa;
border-radius: 5px;
padding: 0.75rem;
font-size: 1.1rem;
font-family:
Menlo,
Monaco,
Lucida Console,
Liberation Mono,
DejaVu Sans Mono,
Bitstream Vera Sans Mono,
Courier New,
monospace;
}
`}</style>
<style jsx global>{`
html,
body {
padding: 0;
margin: 0;
font-family:
-apple-system,
BlinkMacSystemFont,
Segoe UI,
Roboto,
Oxygen,
Ubuntu,
Cantarell,
Fira Sans,
Droid Sans,
Helvetica Neue,
sans-serif;
}
* {
box-sizing: border-box;
}
`}</style>
</div>
);
}
受け取ったライセンスキーを次のようにコードの先頭に配置することを忘れないでください:
import {IronPdfGlobalConfig, PdfDocument} from "@ironsoftware/ironpdf";
// Apply your IronPDF license key
IronPdfGlobalConfig.getConfig().licenseKey = "Add Your key here";結局のところ、NextAuth.jsはNext.jsアプリケーションに認証を追加するプロセスを簡素化します。 複数のプロバイダーのサポートと堅牢なセキュリティ機能を備えており、ユーザー認証を処理するための優れた選択肢です。 NextAuth.jsのドキュメントで、より高度な設定や機能を常に探索することができます。 その上、IronPDF for Node.jsは、アプリケーションに堅牢なPDF生成と操作の機能を提供し、最新のアプリケーション開発とよく統合します。
npm i @ironsoftware/ironpdf
クレジットカードは不要です
試用キーはメールに送信されるはずです。![]() 試用版申し込みフォームが
試用版申し込みフォームが
正常に送信されました。
もし届かない場合は、
support@ironsoftware.comにお問い合わせください。

無料で始めましょう
クレジットカードは不要です
透かしなしで本番環境でテストしてください。
必要な場所で動作します。
30日間、完全に機能する製品をご利用いただけます。
数分で稼働させることができます。
製品トライアル期間中にサポートエンジニアリングチームへの完全アクセス


![]() クレジットカードやアカウント作成は不要です。
クレジットカードやアカウント作成は不要です。
試用キーはメールにあるはずです。
もしない場合は、
support@ironsoftware.comまでご連絡ください。

30分の個別デモを予約する。
契約なし、カード情報不要、義務なし。


10 .NET API製品オフィスドキュメントのために