Test in production without watermarks.
Works wherever you need it to.
Get 30 days of fully functional product.
Have it up and running in minutes.
Full access to our support engineering team during your product trial
In today's interconnected digital landscape, efficient communication is the cornerstone of successful businesses. Whether it's transmitting critical data between applications or ensuring real-time updates across distributed systems, a reliable messaging infrastructure is indispensable.
Azure Service Bus, a cloud-based messaging service, emerges as a robust solution empowering developers to build scalable, decoupled, and resilient applications. Let's delve into the realm of Azure Service Bus to understand its significance and explore its myriad capabilities. Later in this article, we will also look into IronPDF to manage, generate, and read PDF documents.
Azure Service Bus is a fully managed enterprise integration message broker that facilitates reliable communication between applications and services, whether they are running on the cloud, on-premises, or hybrid environments.
It provides flexible messaging capabilities, including queuing and publish/subscribe mechanisms, to enable seamless communication among disparate components of a distributed system. Additionally, it allows batch messages, which permits multiple messages without exceeding the total size constraint.
Azure Service Bus offers the following benefits:
Queues and Topics: Azure Service Bus offers both queues and topics as communication channels. Queues enable point-to-point communication, ensuring that each message is processed by only one receiver, making it ideal for workload distribution and load-leveling scenarios. On the other hand, topics support publish/subscribe messaging patterns, allowing multiple subscribers to receive relevant messages independently, and facilitating scalable event-driven architectures.
Reliable Message Delivery: With Azure Service Bus, message delivery is inherently reliable. It ensures message persistence, can configure the message and error handler, fault tolerance, and at-least-once delivery semantics, minimizing the risk of data loss or duplication. Additionally, it supports transactions, enabling atomic operations across multiple messages, thereby ensuring data integrity.
Dead-Lettering and Retry Policies: To handle erroneous messages effectively, Azure Service Bus provides dead-lettering capabilities, allowing problematic messages to be automatically moved to a separate queue for analysis and troubleshooting. Moreover, it offers flexible retry policies, enabling developers to configure automatic retries with exponential back-off strategies, enhancing the resilience of applications in the face of transient failures.
Partitioning and Scaling: Azure Service Bus supports the partitioning of messaging entities to distribute workload across multiple nodes, ensuring horizontal scalability and high throughput. This capability is crucial for handling large volumes of messages and accommodating fluctuating workloads without compromising performance or reliability.
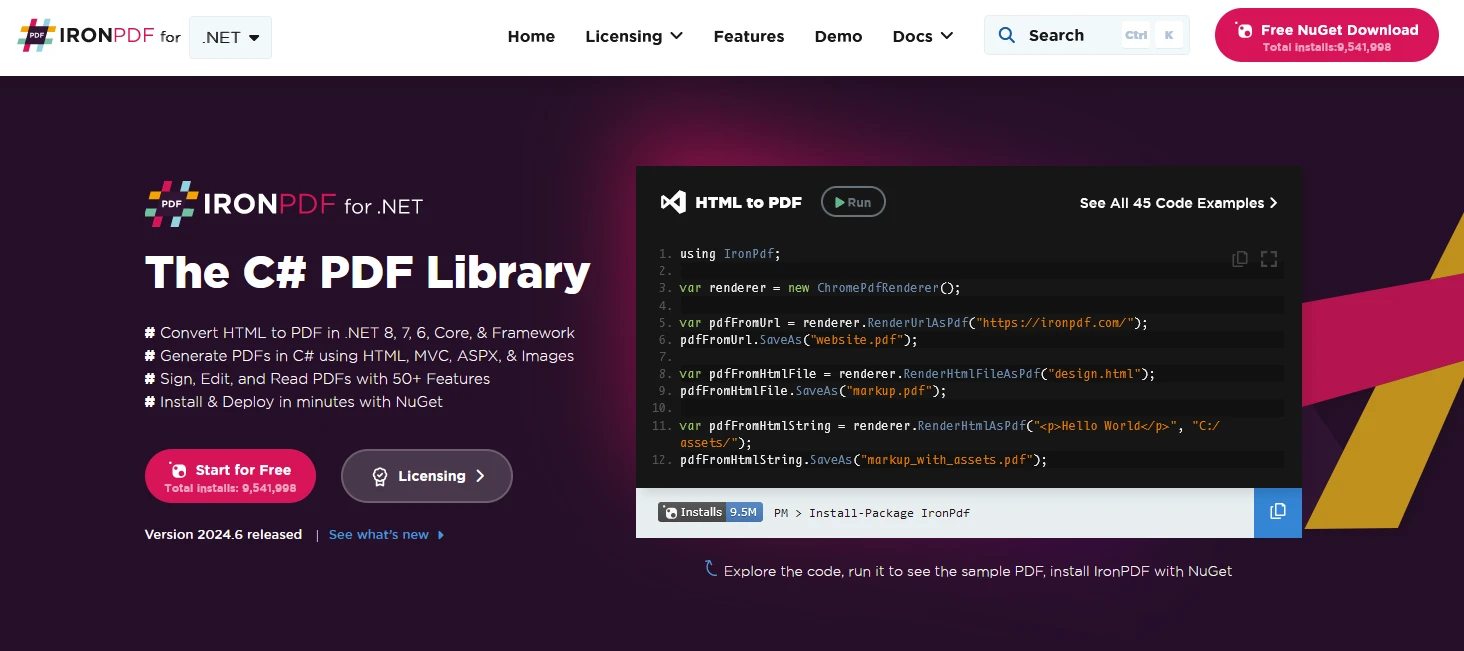
IronPDF is a powerful C# PDF library that allows you to generate, edit, and extract content from PDF documents in .NET projects. Here are some key features:
HTML to PDF Conversion:
Convert HTML, CSS, and JavaScript content to PDF format.
Use the Chrome Rendering Engine for pixel-perfect PDFs.
Image and Content Conversion:
Convert images to and from PDF.
Extract text and images from existing PDFs.
Editing and Manipulation:
Set properties, security, and permissions for PDFs.
Add digital signatures.
Cross-Platform Support:
Works with .NET Core (8, 7, 6, 5, and 3.1+), .NET Standard (2.0+), and .NET Framework (4.6.2+).
Compatible with Windows, Linux, and macOS.
To start with create a console application using Visual Studio as below.
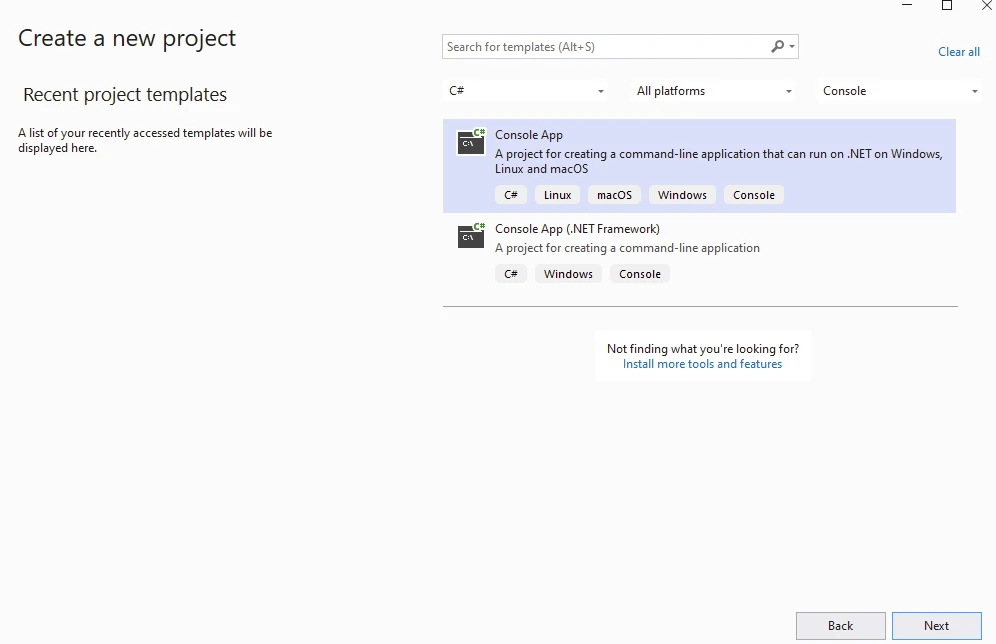
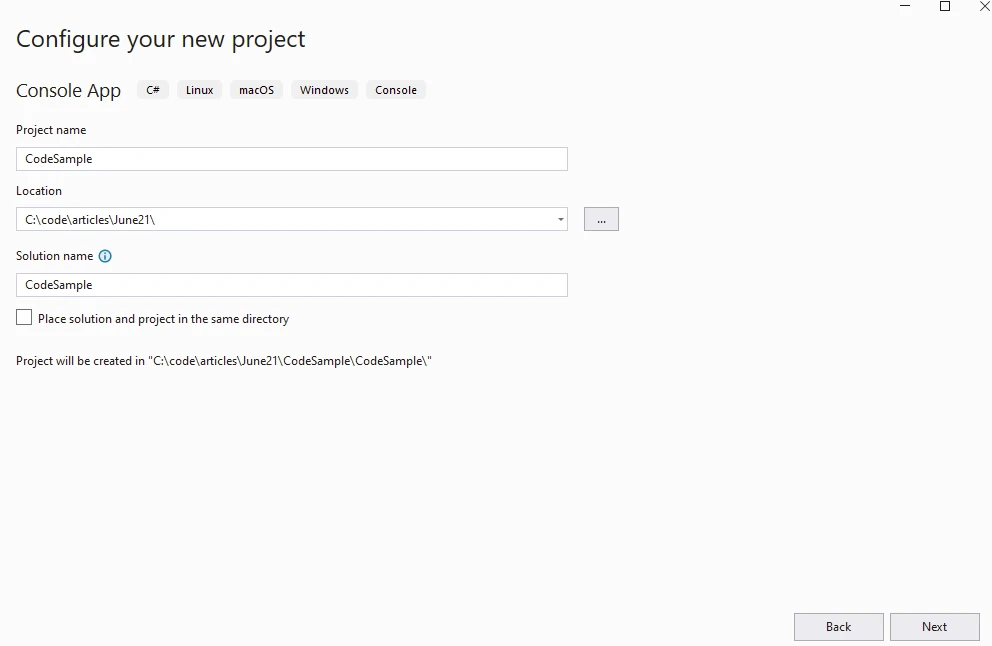
Provide Project Name
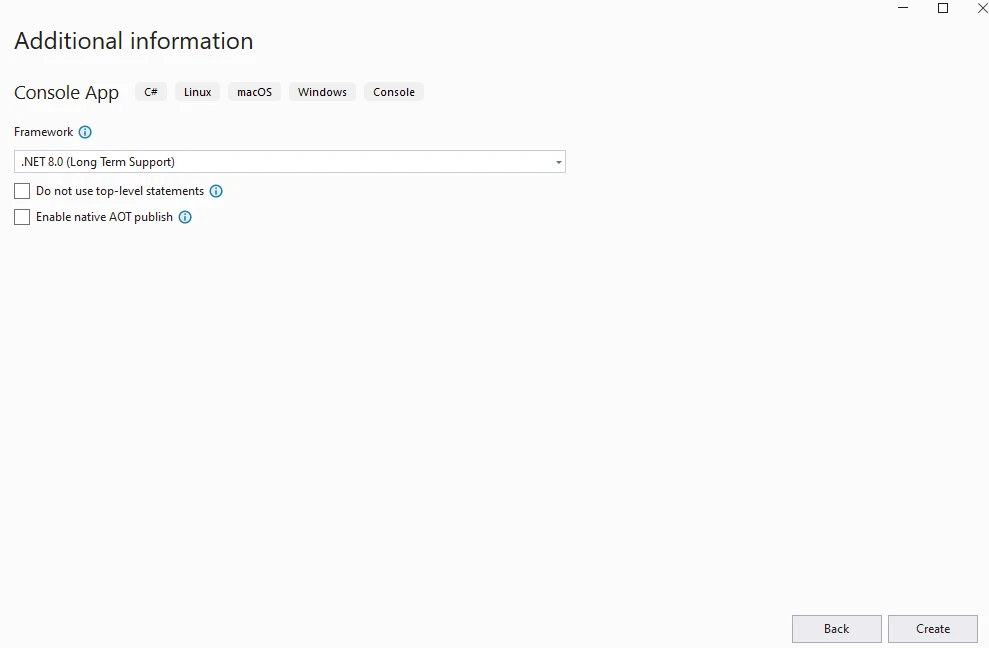
Provide .NET Version
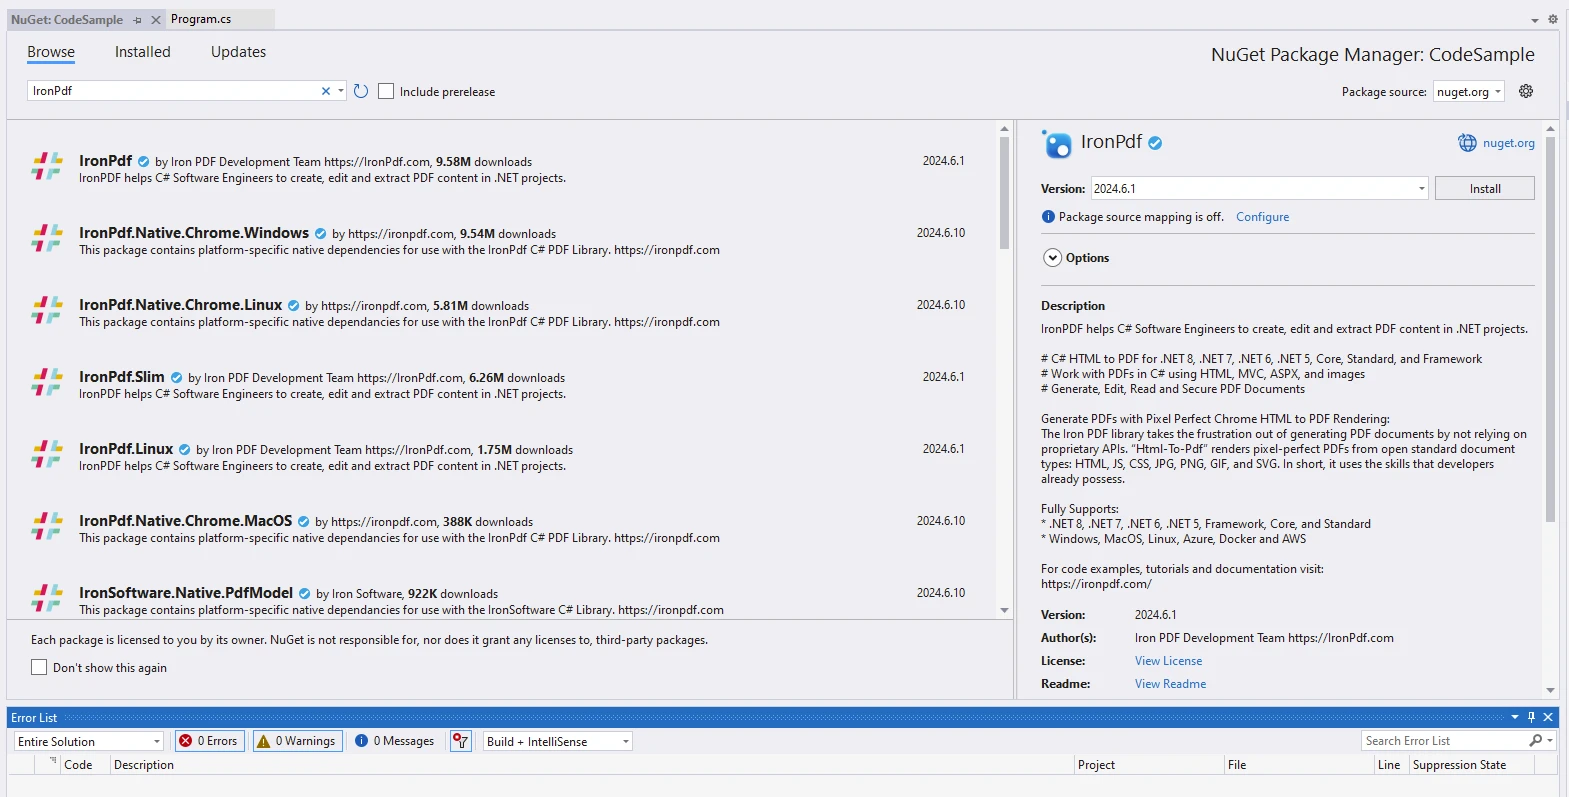
Install the IronPDF package.
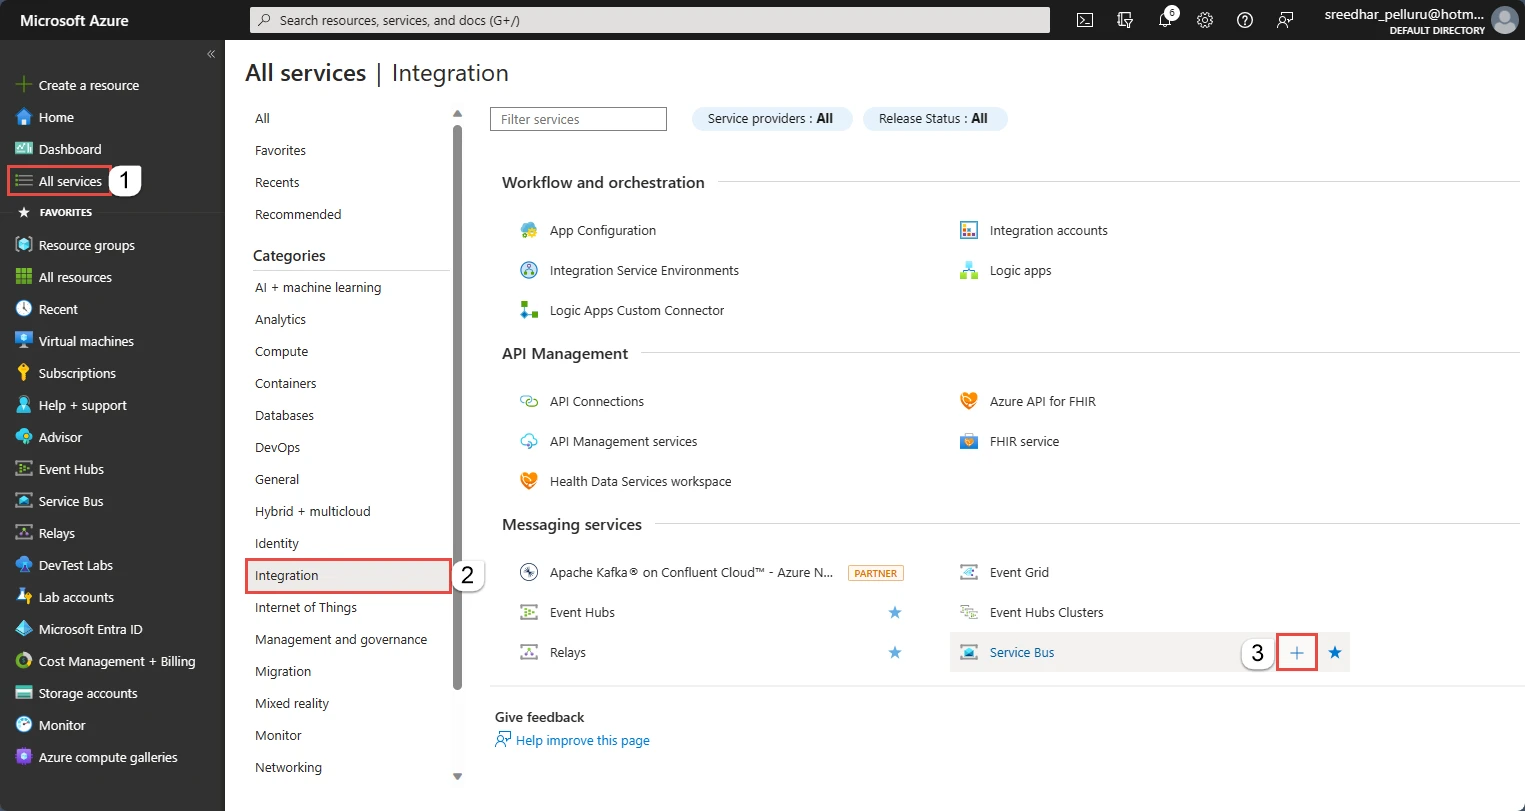
Create a namespace with a unique name across Azure. A namespace is a container for Service Bus resources like queues and topics within your application.
Here's how to create a namespace:
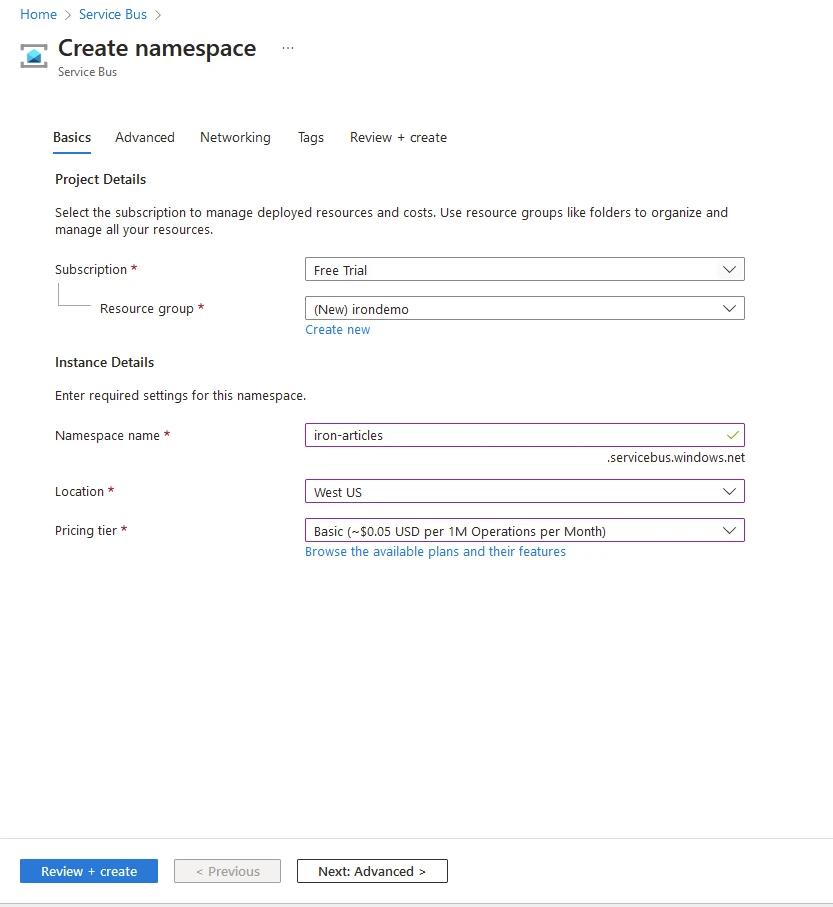
To configure the Basics tab on the Create namespace page, follow these steps:
Resource group: Choose an existing resource group where the namespace will be located, or create a new one.
Namespace name: Enter a name for the namespace. Ensure the name meets the following criteria:
Must be unique across Azure.
Length must be between 6 and 50 characters.
Can only contain letters, numbers, and hyphens "-".
Must start with a letter and end with a letter or number.
Pricing tier: Choose the pricing tier (Basic, Standard, or Premium) for the namespace. For this example, select Standard.
Select Create on the Review + Create page.
You see the home page for your Service Bus namespace.
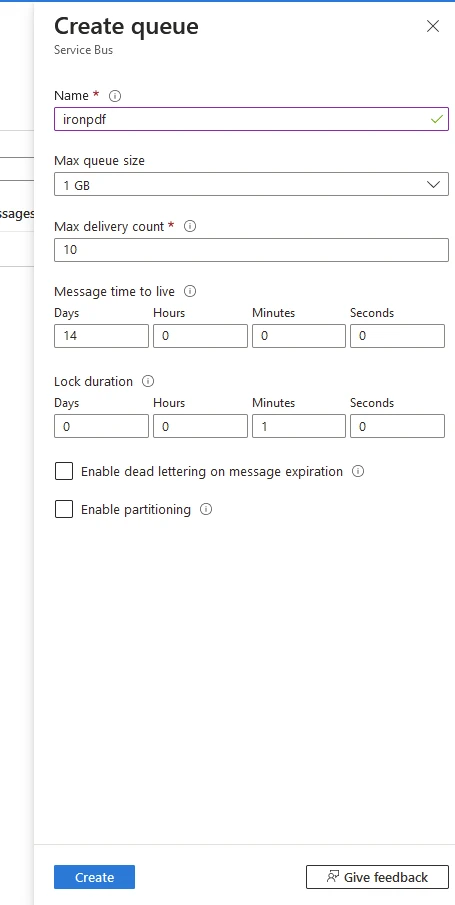
To set up a queue in your Service Bus namespace, follow these steps:
These settings help you control the behavior and performance of your Azure Service Bus queue, ensuring it meets your application’s requirements.
Install Azure.Messaging.ServiceBus, a Service Bus client library, to connect to the Azure queue using a connection string.
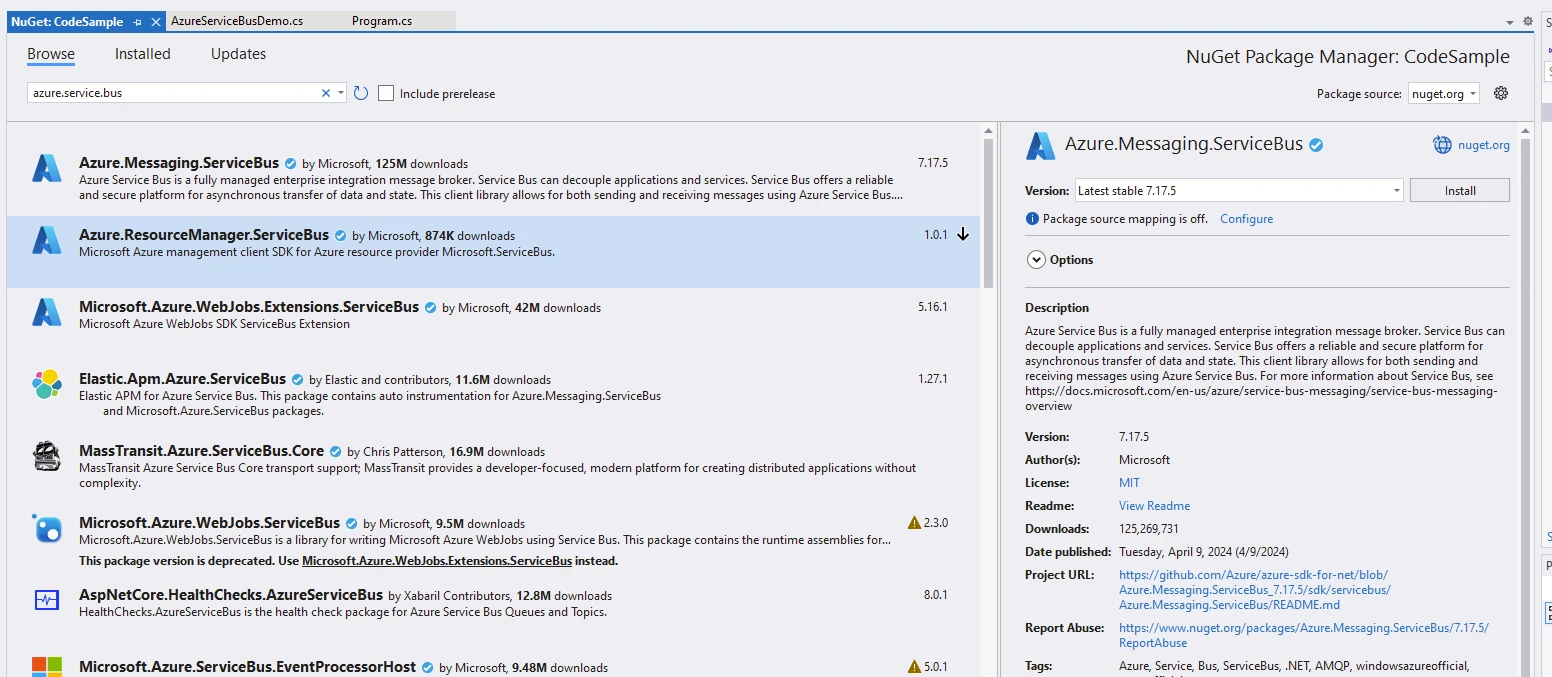
Add the code below to send messages and receive messages using Azure.Messaging.ServiceBus.
using Azure.Messaging.ServiceBus;
namespace CodeSample
{
    public static class AzureServiceBusDemo
    {
        public static async Task Execute()
        {
            string connectionString = "Endpoint=sb://iron-articles.servicebus.windows.net/;SharedAccessKeyName=all;SharedAccessKey=uqQIzpuc2HxbnAb9keqTINvzfTcFbkkU0+ASbJZ/tow=;EntityPath=ironpdf";
            string queName = "ironpdf";
            Console.WriteLine("Demo IronPDF with Azure.Messaging.ServiceBus");
            Installation.EnableWebSecurity = true;
            // Instantiate Renderer
            var renderer = new ChromePdfRenderer();
            var content = "<h1>Demo IronPDF with Azure.Messaging.ServiceBus</h1>";
            content += "<h2>Send Message to Azure.Messaging.ServiceBus Queue: ironpdf</h2>";
            await using var client = new ServiceBusClient(connectionString);
            var msgText = "IronPDF is Awesome Package";
            content += $"<p>Message:{msgText}</p>";
            var tx = client.CreateSender(queName);
            await tx.SendMessageAsync(new ServiceBusMessage(msgText)); // message await sender
            Console.WriteLine($"Sent Below message at:{DateTime.Now}");
            content += $"<p>Sent Below message at:{DateTime.Now}</p>";
            Console.Read(); // wait for user input to read the message;
            var rx = client.CreateReceiver(queName);
            var msg = await rx.ReceiveMessageAsync(); // receive messages
            content += "<h2>Receive Message from Azure.Messaging.ServiceBus Queue: ironpdf</h2>";
            content += $"<p>Recieved Below message at:{DateTime.Now}</p>";
            Console.WriteLine($"Recieved Below message at:{DateTime.Now}");
            content += $"<p>MessageID={msg}</p>";
            Console.WriteLine($"MessageID={msg}");
            content += $"<p>Message Received: {msg.Body}</p>";
            Console.WriteLine($"Message Received: {msg.Body}");
            var pdf = renderer.RenderHtmlAsPdf(content);
            // Export to a file or Stream
            pdf.SaveAs("AwesomeAzureServiceBusQueueAndIronPdf.pdf");
        }
    }
}
using Azure.Messaging.ServiceBus;
namespace CodeSample
{
public static class AzureServiceBusDemo
{
public static async Task Execute()
{
string connectionString = "Endpoint=sb://iron-articles.servicebus.windows.net/;SharedAccessKeyName=all;SharedAccessKey=uqQIzpuc2HxbnAb9keqTINvzfTcFbkkU0+ASbJZ/tow=;EntityPath=ironpdf";
string queName = "ironpdf";
Console.WriteLine("Demo IronPDF with Azure.Messaging.ServiceBus");
Installation.EnableWebSecurity = true;
// Instantiate Renderer
var renderer = new ChromePdfRenderer();
var content = "<h1>Demo IronPDF with Azure.Messaging.ServiceBus</h1>";
content += "<h2>Send Message to Azure.Messaging.ServiceBus Queue: ironpdf</h2>";
await using var client = new ServiceBusClient(connectionString);
var msgText = "IronPDF is Awesome Package";
content += $"<p>Message:{msgText}</p>";
var tx = client.CreateSender(queName);
await tx.SendMessageAsync(new ServiceBusMessage(msgText)); // message await sender
Console.WriteLine($"Sent Below message at:{DateTime.Now}");
content += $"<p>Sent Below message at:{DateTime.Now}</p>";
Console.Read(); // wait for user input to read the message;
var rx = client.CreateReceiver(queName);
var msg = await rx.ReceiveMessageAsync(); // receive messages
content += "<h2>Receive Message from Azure.Messaging.ServiceBus Queue: ironpdf</h2>";
content += $"<p>Recieved Below message at:{DateTime.Now}</p>";
Console.WriteLine($"Recieved Below message at:{DateTime.Now}");
content += $"<p>MessageID={msg}</p>";
Console.WriteLine($"MessageID={msg}");
content += $"<p>Message Received: {msg.Body}</p>";
Console.WriteLine($"Message Received: {msg.Body}");
var pdf = renderer.RenderHtmlAsPdf(content);
// Export to a file or Stream
pdf.SaveAs("AwesomeAzureServiceBusQueueAndIronPdf.pdf");
}
}
}IRON VB CONVERTER ERROR developers@ironsoftware.comConnection String and Queue Name:
The connectionString variable contains the connection details for your Azure Service Bus namespace. It specifies the endpoint, shared access key, and entity path (queue name).
queName variable holds the name of the Service Bus queue you want to work with.Demo Setup:
The code starts by printing a message: “Demo IronPDF with Azure.Messaging.ServiceBus.”
Installation.EnableWebSecurity = true;.Creating a Service Bus Client:
The ServiceBusClient is created using the provided connection string.
Sending a Message:
A message with the content “IronPDF is Awesome Package” is sent to the specified queue using the CreateSender method.
The message is created using new ServiceBusMessage(msgText).
Receiving a Message:
A receiver is created for the same queue using CreateReceiver.
The code waits for user input (using Console.Read()) to simulate message processing.
Generating a PDF:
The renderer creates a PDF from the HTML content (including the sent and received messages).
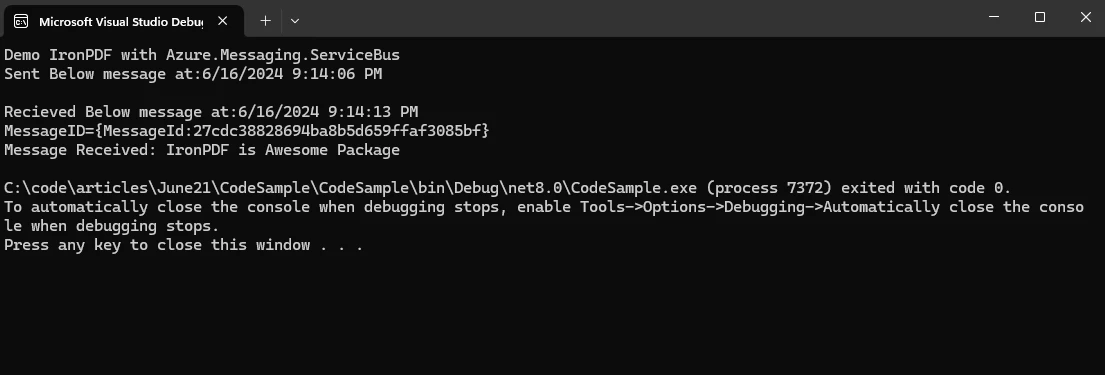
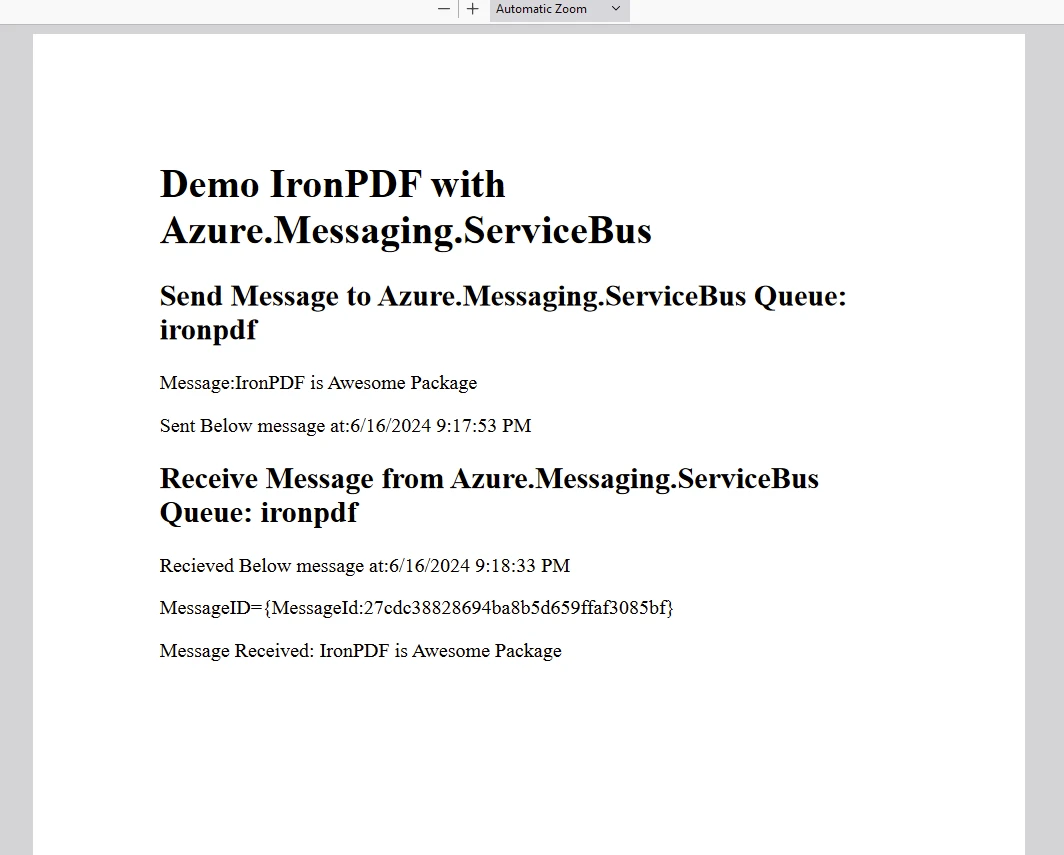
The IronPDF package requires a license to run and generate the PDF. Add the code below at the start of the application before the package is accessed.
IronPdf.License.LicenseKey = "IRONPDF-MYLICENSE-KEY";IronPdf.License.LicenseKey = "IRONPDF-MYLICENSE-KEY";IRON VB CONVERTER ERROR developers@ironsoftware.comA trial license is available on the IronPDF Trial License Page.
In an era characterized by digital transformation and rapid technological advancements, the Azure Service Bus emerges as a pivotal component in the modernization journey of businesses worldwide. By providing reliable, scalable, and flexible messaging capabilities, it empowers developers to architect resilient and agile solutions that can adapt to evolving business requirements.
Whether it's facilitating seamless integration, enabling event-driven architectures, or ensuring asynchronous communication, Azure Service Bus plays a transformative role in driving innovation and accelerating digital initiatives across industries.
As organizations continue to embrace cloud-native paradigms and distributed architectures, Azure Service Bus stands as a testament to Microsoft's commitment to empowering developers and enterprises on their journey to the cloud. IronPDF simplifies PDF generation within .NET applications, offering flexibility and functionality for creating professional-grade documents directly from code.